Memberium
Configure password generation HTTP POST
- Copy “Password Generator Example:” value from Memberium => Settings => HTTP Posts/Links tab on your website
- Open “Send an HTTP Post Request” element in your automation sequence
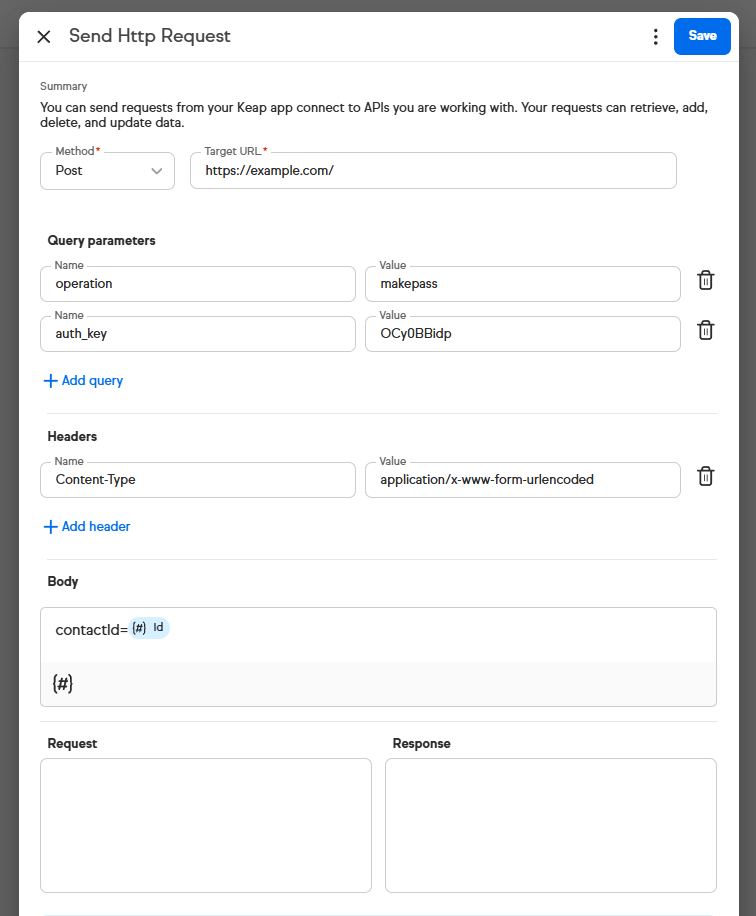
- Set “Method” dropdown to “Post”
- Paste “Password Generator Example:” value into “Target URL” field
- Click “+Add query” and set:
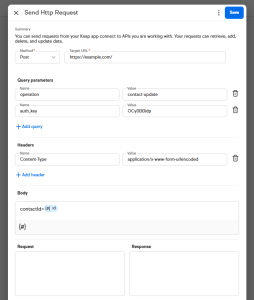
- “Name” to operation
- “Value” to makepass
- Click “+Add query” again and set:
- “Name” to auth_key
- “Value” to your HTTP POST auth key
- Change “Target URL” field to
https://example.com/, replacingexample.comwith your actual website URL.
Important: Ensure the URL ends with a forward slash (/). - Click “+Add header” and set:
- “Name” to Content-Type
- “Value” to application/x-www-form-urlencoded
- Set “Body” to contactId= and then click {#} icon.
- Select “Contact Fields (additional)”
- Click on Id
- Click Save button
Configure Update Contact HTTP POST
- Copy “Update Contact Example:” value from Memberium => Settings => HTTP Posts/Links tab on your website
- Open “Send an HTTP Post Request” element in your automation sequence
- Set “Method” dropdown to “Post”
- Paste “Update Contact Example:” value into “Target URL” field
- Click “+Add query” and set:
- “Name” to operation
- “Value” to contact-update
- Click “+Add query” again and set:
- “Name” to auth_key
- “Value” to your HTTP POST auth key
- Change “Target URL” field to
https://example.com/, replacingexample.comwith your actual website URL.
Important: Ensure the URL ends with a forward slash (/). - Click “+Add header” and set:
- “Name” to Content-Type
- “Value” to application/x-www-form-urlencoded
- Set “Body” to contactId= and then click {#} icon.
- Select “Contact Fields (additional)”
- Click on Id
- Click Save button